Jerseys environment easy setup using Maven
Introduction:
Previously I set up the jerseys environment step by step, it’s very frustrating because we need download many packages, build paths, package version… Today I found a very easy way to set up the Jerseys-1 development environment using Maven. Also, you can refer this post for setting up environment without Maven
Download Eclipse plugin
My eclipse version is neon, although it comes with some maven plugins, but it’s not enough for web application. Report bugs
Failed to execute goal
org.apache.maven.plugins:maven-compiler-plugin:2.3.2:compile
(default-compile)
A straight way to solve it is downloading the all needed Maven packages

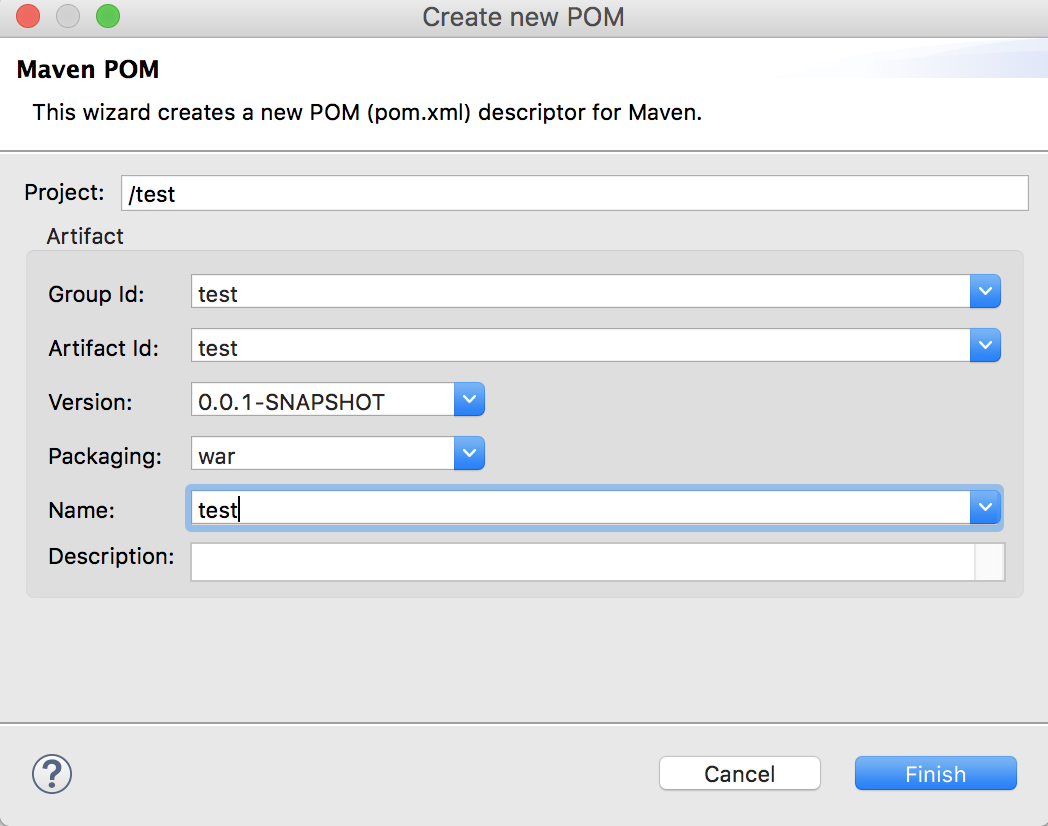
Convert to Maven Project, and update pom.xml
Right click the project -> configure -> convert to Maven Project. Add a name as you like in maven configure step. Choose war file as packaging.
Then It will generate a pom.xml
    <dependencies>
        <dependency>
            <groupId>asm</groupId>
            <artifactId>asm</artifactId>
            <version>3.1</version>
        </dependency>
        <dependency>
            <groupId>com.sun.jersey</groupId>
            <artifactId>jersey-bundle</artifactId>
            <version>1.17.1</version>
        </dependency>
        <dependency>
            <groupId>mysql</groupId>
            <artifactId>mysql-connector-java</artifactId>
            <version>5.1.41</version>
        </dependency>
        <dependency>
            <groupId>com.google.code.gson</groupId>
            <artifactId>gson</artifactId>
            <version>2.3.1</version>
        </dependency>
    </dependencies>
Mysql and Gson might not needed here. But a webservice project usually related to Database accessing, so I added here for late usage. Everything is done. Now you don’t need to worry about downloading the packages, everything will be managed by Maven.
Note that you still need to update the web.xml for configuration, If you don’t know how, you can refer this blog for guide.
Maven Install and Result
Right click the project -> Run As -> Maven Install
The first run may take a little bit more time, after execution, it will generate a target folder as below

Everything is done. Put the war file into the server and enjoy!
You can also take a look of my project for reference.